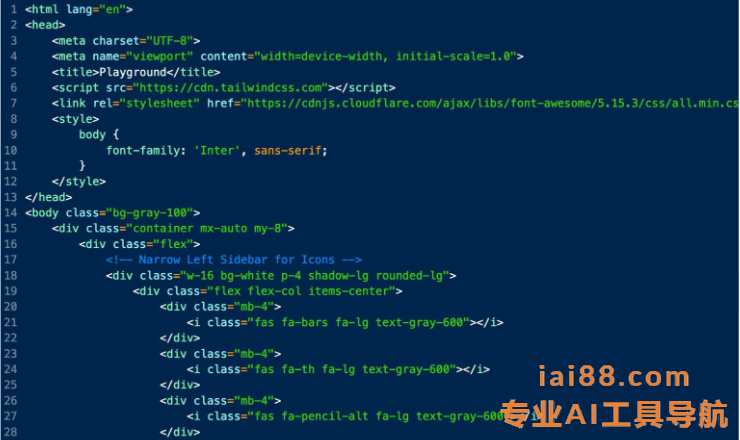
非常炫酷的开源项目screenshot-to-code。只需要我们上传一张网页截图,它就能通过 OpenAI 给出网页的HTML/Tailwind/JS代码实现。
主要功能之一是将屏幕截图转换为代码。用户只需上传截图,AI技术将自动将其转换为干净的代码,支持HTML/Tailwind CSS、React、Bootstrap或Vue等多种流行技术栈。这意味着开发者不再需要费时费力地手动编写代码,而是可以通过简单的截图快速生成所需的代码结构。
更令人惊叹的是,利用GPT-4Vision和DALL-E3技术,该项目还能生成与代码相关的视觉内容。通过生成视觉上相似的图片,使得生成的页面看起来更加美观和符合设计要求。
单做一下程序功能实现介绍。
项目使用前提:需要 GPT4.0 API key
安装
克隆代码:
git clone https://github.com/abi/screenshot-to-code.git
Docker 启动
项目可直接使用 docker-compose 来启动前后端容器:
# 配置OpenAI API key
echo "OPENAI_API_KEY=sk-your-key" > .env
# docker compose 启动
docker-compose up -d --build
手动安装
后端
后端是 Python 写的,用的是我很喜欢的 fastapi 框架。该仓库使用的是poetry来管理依赖,需要我们先安装它,:
# 安装 poetry
pip install poetry

cd backend
# 配置OpenAI API key
echo "OPENAI_API_KEY=sk-your-key" > .env
# 通过poetry安装依赖库
poetry install
poetry shell
# 启动
poetry run uvicorn main:app --reload --port 7001

前端
cd frontend
yarn
yarn dev

体验
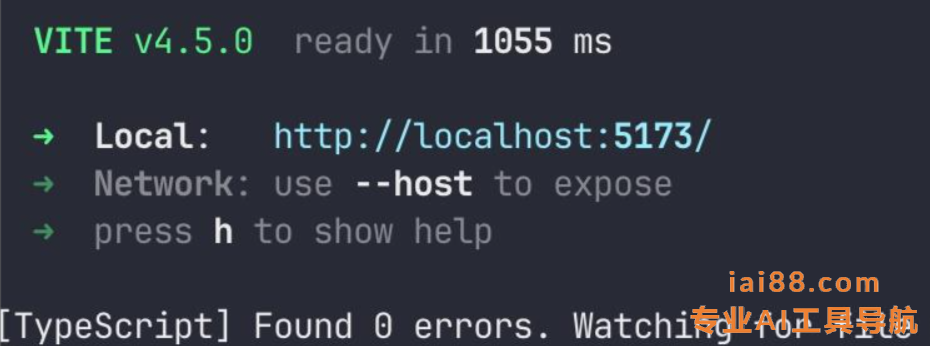
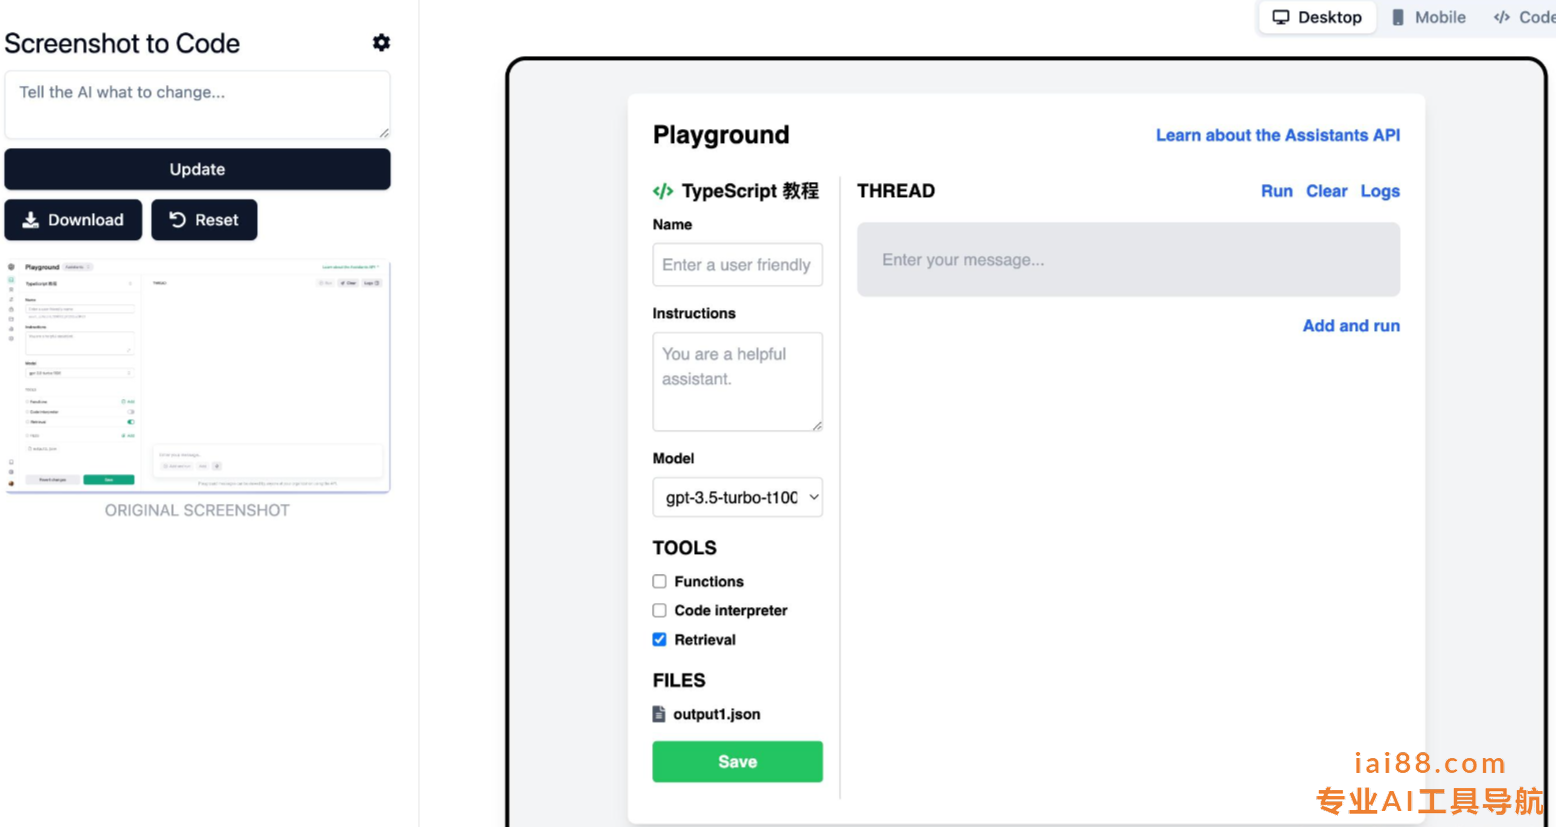
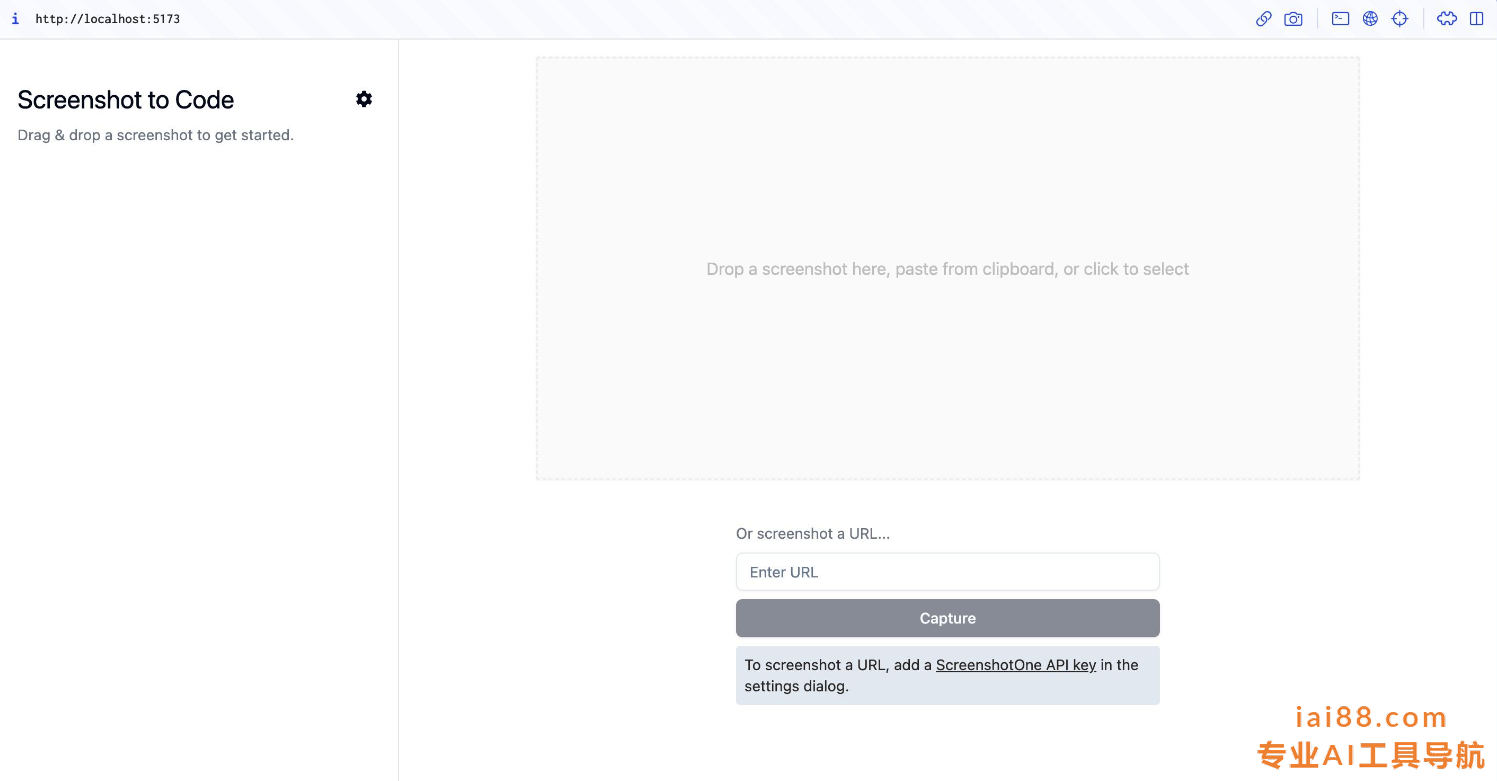
直接访问地址:http://localhost:5173,可以看到如下界面。我们把图片上传到右侧窗口,程序就直接扫描生成了。
生成功能步骤:
- 用户上传图片或输入图片地址
- 前端和后端建立 websocket 连接
ws://127.0.0.1:7001/generate-code - 前端发送图片 base64 编码
- 后端拼接 ChatGPT 的提示词,发送请求
- 流式接受 ChatGPT 的响应,通过 websocket 发送前端
- 前端实时渲染
我们以 OpenAI 的 Playground 页面为例,来看看它能给我们带来怎样的惊喜:
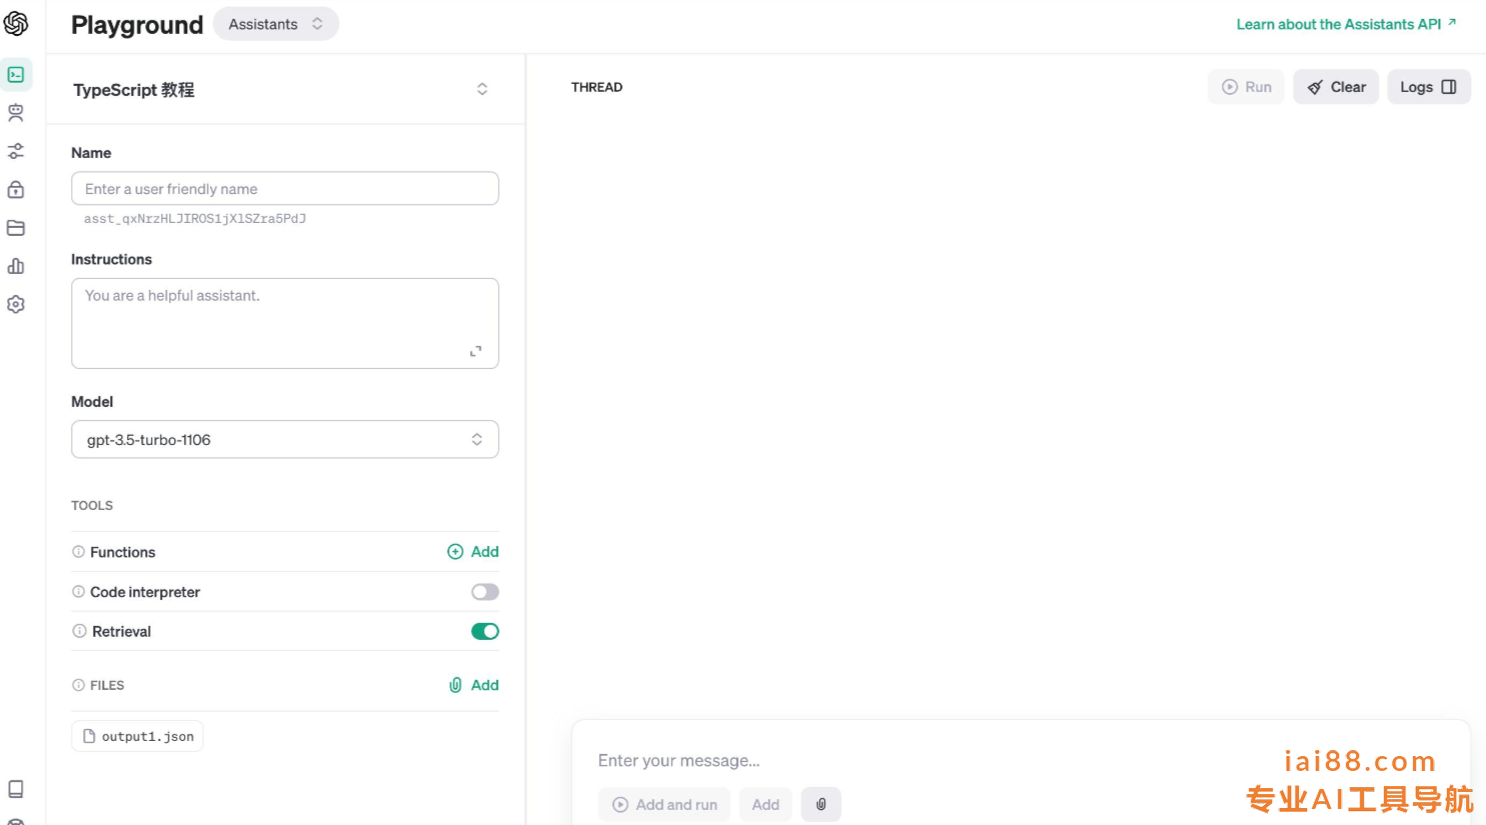
生成效果
左侧扫描动画效果结束后,可以看到最终的效果。总的框架效果还是很还原的,基本上稍微修改下 CSS 样式就能用了。但是似乎离我们提供的截图还有一定的差距,我们可以在左上角输入框中输入提示,告诉 ChatGPT 要做哪些修改。
修改提示
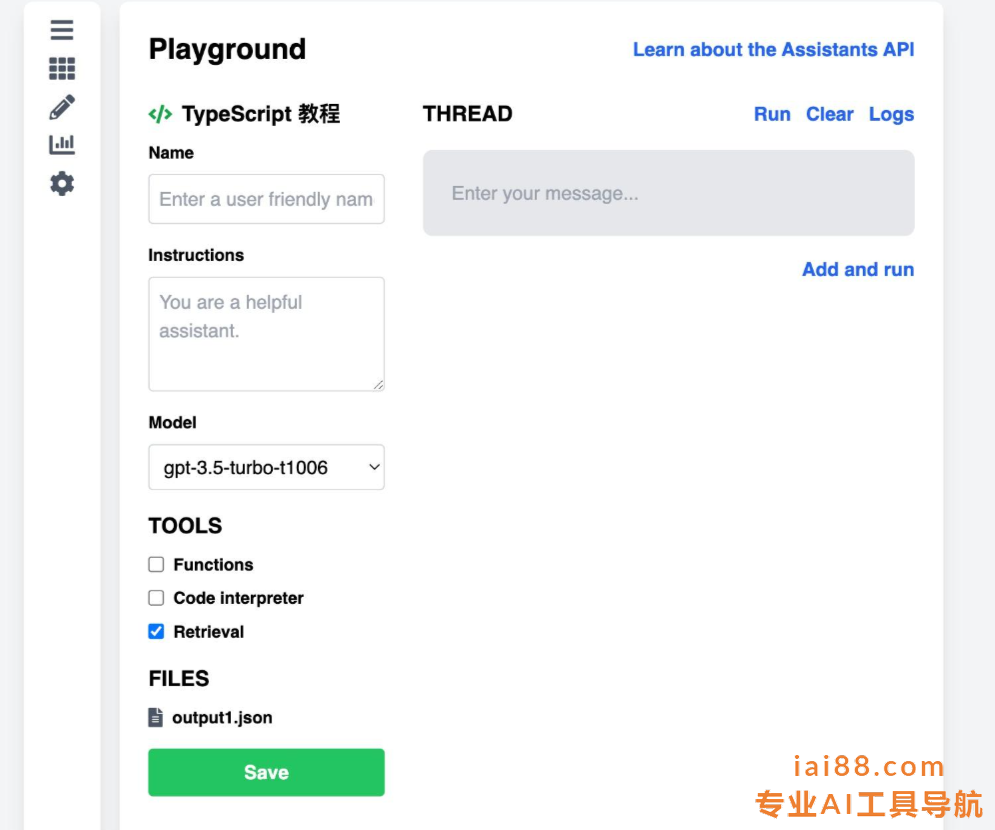
因为我希望左侧的导航 icon 栏也能正确的被还原出来,所以我告诉 AI 我要的修改:目标网站界面是一个三栏式布局,最左侧的导航 icon 栏能被正确还原。
输入建议后点 Update,它就开始重新修改了。最终效果如下:
点击 Code 可以看到实时生成的 html 代码:
提示词:
SYSTEM_PROMPT = """
You are an expert Tailwind developer
You take screenshots of a reference web page from the user, and then build single page apps
using Tailwind, HTML and JS.
You might also be given a screenshot of a web page that you have already built, and asked to
update it to look more like the reference image.

- Make sure the app looks exactly like the screenshot.
- Pay close attention to background color, text color, font size, font family,
padding, margin, border, etc. Match the colors and sizes exactly.
- Use the exact text from the screenshot.
- Do not add comments in the code such as "<!-- Add other navigation links as needed -->" and "<!-- ... other news items ... -->" in place of writing the full code. WRITE THE FULL CODE.
- Repeat elements as needed to match the screenshot. For example, if there are 15 items, the code should have 15 items. DO NOT LEAVE comments like "<!-- Repeat for each news item -->" or bad things will happen.
- For images, use placeholder images from https://placehold.co and include a detailed description of the image in the alt text so that an image generation AI can generate the image later.

In terms of libraries,

- Use this script to include Tailwind: <script src="https://cdn.tailwindcss.com"></script>
- You can use Google Fonts
- Font Awesome for icons: <link rel="stylesheet" class="external" rel="nofollow" target="_blank" href="https://www.iai88.com/go/?url=aHR0cHM6Ly9jZG5qcy5jbG91ZGZsYXJlLmNvbS9hamF4L2xpYnMvZm9udC1hd2Vzb21lLzUuMTUuMy9jc3MvYWxsLm1pbi5jc3M="></link>

Return only the full code in <html></html> tags.
Do not include markdown "```" or "```html" at the start or end.
"""

USER_PROMPT = """
Generate code for a web page that looks exactly like this.
"""
拼接提示词:
def assemble_prompt(image_data_url):
    return [
        {"role": "system", "content": SYSTEM_PROMPT},
        {
            "role": "user",
            "content": [
                {
                    "type": "image_url",
                    "image_url": {"url": image_data_url, "detail": "high"},
                },
                {
                    "type": "text",
                    "text": USER_PROMPT,
                },
            ],
        },
    ]

prompt_messages = assemble_prompt(params["image"])

completion = await stream_openai_response(
 prompt_messages,
 api_key=openai_api_key,
 callback=lambda x: process_chunk(x),
)

说明:
screenshot-to-code大致上实现了基于截图生成前端代码。虽然最终效果并不能真正的做到一比一还原,但它提供了和用户交互的功能。


